 Proudly


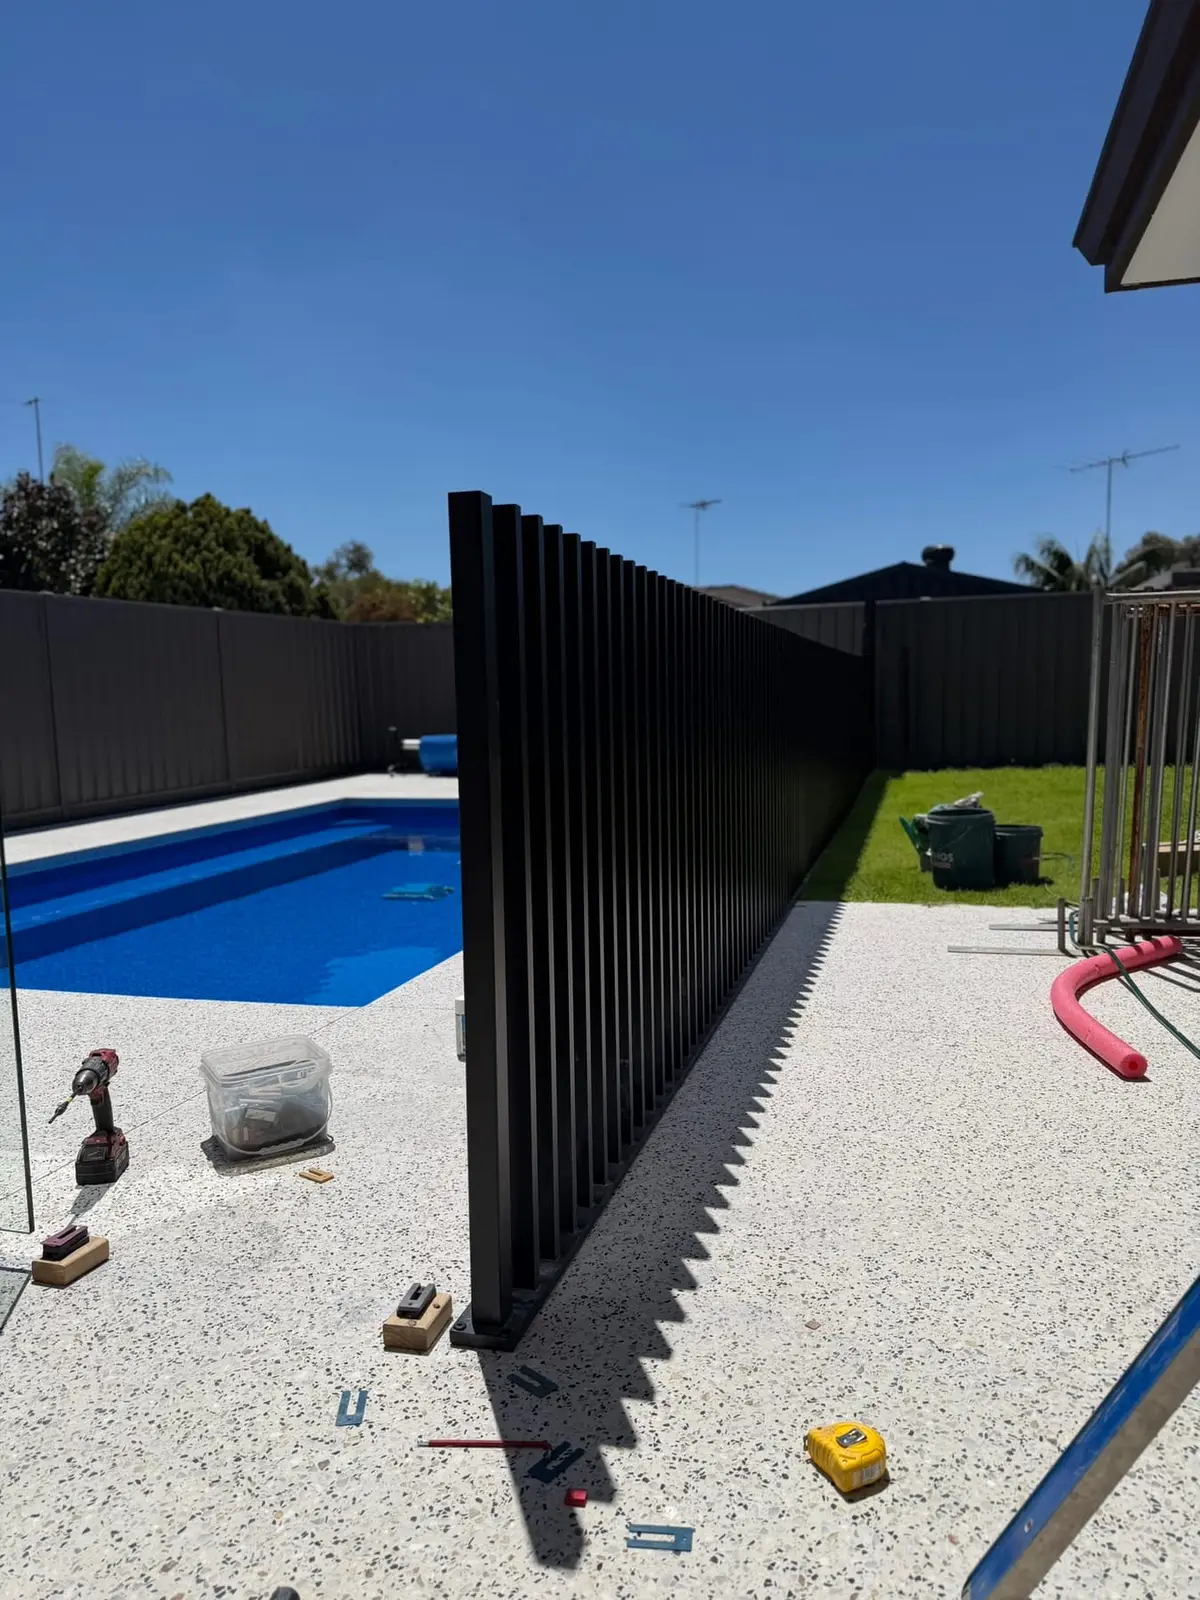
Patent-pending non-weld system
DIY-friendly. No welding. Up in a weekend.
The TrueBatten system is modular and mechanical, no welding equipment, no specialist tools, no hot-works permit. Here's how it goes together.
Before the pallet arrives
The day before is where the time goes
The fence itself goes together quickly. What slows a job down is finding out on the day that the line is wrong or the ground is not ready.
Read the drawings first
Every order ships with drawings for that job. The baseplate is already cut to your width and drilled, so the set-out is fixed before you start. Check it against the boundary while it is still a drawing and not a hole.
Get the surface right
The plate fixes to concrete, paving or a rendered plinth. It wants to be solid and level. If the ground falls away along the run, tell us before manufacture so the panels are raked or stepped to suit, rather than packed up on site.
Plan for a pallet
It arrives on a pallet, made up and coated. Work out where it lands and where it sits until you are ready, somewhere flat and out of the traffic. Powdercoat marks if you drag things across it.
The install
Four stages, in this order
- 01
Lay the baseplates out and mark the holes
Lay every plate along the run before anything is fixed. They arrive cut to your width and already drilled, so the set-out is decided; you are transferring it to the ground rather than inventing it. String line the run, then mark through the holes that are already there.
Mark the whole run before you drill any of it. The plate sets the spacing for every batten above it, so a plate that is out stays out.
- 02
Drill, and set your anchors
Drill the holes you have just marked, to suit what you are fixing into. If you are chemsetting screw rods, set them now and leave them to go off.
The cure is not dead time. The next step is what you do while you wait for it.
- 03
Fix the battens to the baseplates
Make the panels up now, flat and off the ground, while the chemset cures. Each batten screws into the plate with marine-grade stainless screws through the integrated receivers. The holes are already there, so the spacing comes from the plate, not from your tape measure.
Far easier on a trestle than bent over a plate that is already fixed down. This is the step most people do in the wrong order.
- 04
Slot the panels in and fix them down
With the panels made up and the anchors ready, drop each one over its rods, or straight onto its holes, and fix it down. The run goes from a pile of parts to a finished fence in one pass.
Work along the string line in the same direction you marked in, so anything that needs easing is eased in one place rather than shared out along the run.
- 05
Cap them off
An end cap finishes the top of every batten. No welding, no hot-works permit, no grinding.
Caps go on once the panels are down, so you are not knocking them about while you work along the line.
- 06
Hang the gates
Gates run on a post either side, with self-closing, self-latching hinges and a Magna-Latch. They are the one part of the system that does not sit on a baseplate.
Hang the gate before you set the latch. Get the swing and the gap right first, then fix the latch to suit.
What you need
Nothing you would have to hire
There is no welder, no grinder and no hot-works permit in this job. The screws that hold the battens into the baseplate come with the kit. The anchors that hold the baseplate down do not, because they depend on what you are fixing into.
- Drill and driver
- Masonry bit and anchors to suit what you are fixing into
- String line and pegs
- Spirit level
- Tape and a marker
- Eye and ear protection
Pool fences
We build to what the inspector checks: 1250mm as standard, non-climbable batten spacing, no gaps over 100mm, and gates that swing away from the water and latch themselves. The rest is down to how it goes in, so for pool fencing we strongly recommend a professional installer.
Walk the barrier like an inspectorCurved runs
The curve lives in the baseplate, which is CNC-cut from aluminium sheet to your line. On a custom curve an MDF template of that line is cut first, so you can lay it on the ground and confirm the shape before anything is made in aluminium.
How curves are madeAfterwards
Hose it down now and then and that is the maintenance. Aluminium will not rust, rot or warp, and the powdercoat does not want painting, sanding or treating. Structural components and the coating are covered for ten years.
Good to know
Install questions
Do I need a tradesperson?
For a standard fence, no. The system is mechanical: no welding equipment, no hot-works permit and no specialist tools. For pool fencing we strongly recommend a professional installer, because compliance depends on ground levels and what sits near the barrier as much as on the panels themselves.
How long does it take?
A typical front fence goes in over one to two days. Most of that is set-out. There is no concrete to pour and wait on, and if you are chemsetting the anchors you make the panels up while that goes off, so you are not standing around between stages.
What do I need to have ready?
A solid, level surface to fix to, the shop drawings that came with your order, and access for a pallet. Check the set-out against the drawings before anything is fixed down, because the baseplate holes are already drilled.
What if my ground is not level?
Tell us before manufacture. Runs can be raked to follow a slope or stepped down it, and either way the panels are made to the levels you give us. It is much harder to solve on site than on the drawing.
What fixes the baseplate down?
That depends on what you are fixing to, so the anchors are not in the kit. The plate is drilled at 400mm centres for concrete, paving or a rendered plinth. The screws that hold the battens into the baseplate are marine-grade stainless and are supplied.
Can I cut a panel down on site?
You should not need to. Every panel is made to your measurements, and the batten spacing is set by the machined baseplate, so cutting a plate down changes the spacing. If something does not fit, call us before you cut.
What maintenance does it need?
Hose it down occasionally. Aluminium will not rust, rot or warp, and the UV-resistant powdercoat does not need painting, sanding or treating.
Stuck on something mid-install? Call (08) 6185 0044 and have your order number handy. You are talking to the people who made it.